How to Make a Rug Cushion
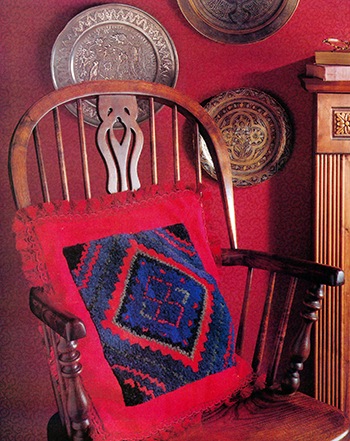
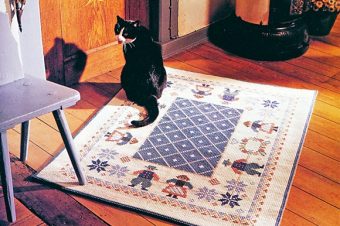
One of the thread colors was picked as the border and backing fabric and provides a good background to the stitchery on this rug cushion. The outlining braid was set back slightly from the edge to add a border detail.
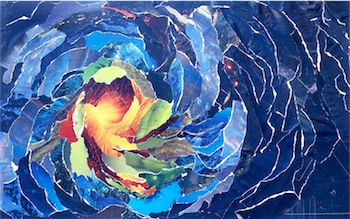
This sumptuous cushion stitched in dark muted shades looks great set against a luxurious, plain backdrop.
The central canvas work panel is given its raised surface by using velvet stitch. When textured stitches, like the velvet stitch, are used in geometric designs, the patterns edges seem to blur together naturally. Here in the rug cushion above, the mottled color effect in the blue and red sections is achieved by working in a few strands of wool in slightly lighter shades than the main color.
Materials
Single interlock tapestry canvas 10 holes to 2.5cm (1in), 40cm (16in) square
DMC tapestry wool in the following colors and amounts: 15 skeins of French blue 7291, 6 skeins each of bright blue 1196 and red 7107, 4 skeins of dark navy blue 7590, 2 skeins each of green 7335 and dark bottle green 7329,1 skein each of blue 1791, red 7666 and pink 7159
Tapestry needle size 18
Tapestry frame (optional )
Backing fabric 50cm (5/8yd) x 90cm(36in)
Red tassel braid 4cm (1 ½ in) x 2m (2 ¼ yd)
Cushion pad 46cm (18 in)square
Matching sewing thread and needle
How to Make the Cushion
1. Working the canvas
Tack lines across center of canvas to divide it into quarters. Set canvas into frame. Begin at bottom left-hand corner and work across left to right. Work next row above. Use velvet stitch following the instructions and using the colors in the picture. One square equals one stitch, worked over two threads.
2. Shading colors
To get a mottled, faded effect in red and bright blue areas, small sections were worked in red 7666, pink 7759 and blue 7797.
3. Block the tapestry
Remove finished work from frame and steam press on the wrong side gently pulling back into shape. Trim canvas leaving 2.5cm (1in) margin.
4. Completing cushion
Cut four fabric strips 49 x 11cm (19 1/4 x 4 ½ in) for front border. Trim ends at 45 degrees so strips form a border. Stitch ends of strips to within 1.5cm (5/8 in) of inner corner. Stitch inner edge of border to canvas. Cut cushion back 49cm (19 1/4in) square. Stitch to front leaving opening. Turn right side out. Insert pad, close opening. Stitch braid to front so tassels hang over.
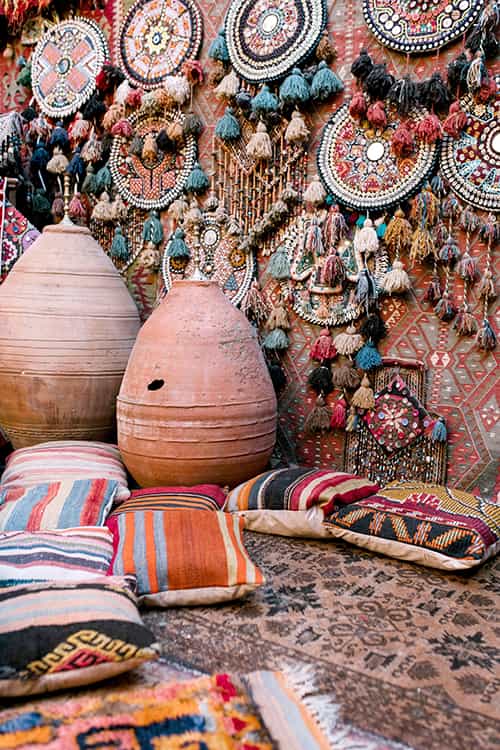
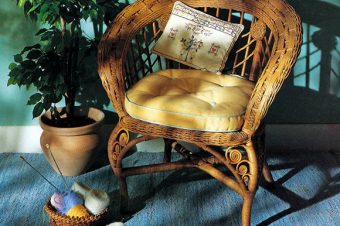
For Inspiration a few Rug Cushions
Reference: The Country Look—Decor & Crafts

Leave a Reply