How to Make Buttoned Cushions
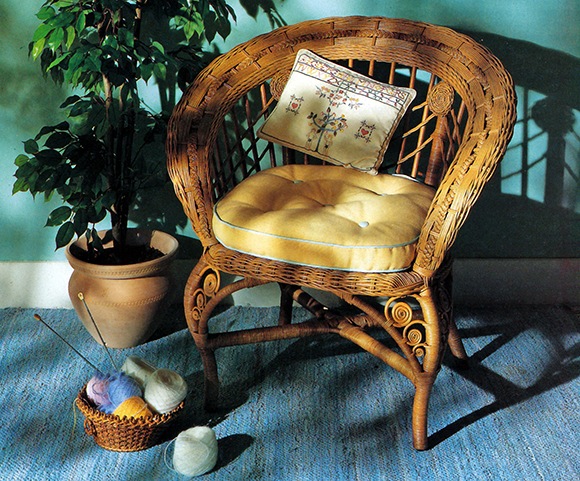
Buttoning makes deep cushions look invitingly plump, soft and springy. Here the buttons are covered with bias binding which was used to trim the piping giving a springtime look.
We just love these buttoned cushions. Buttoning gives gusseted cushions the appearance of over-stuffed luxury, making the cushions look deeper and therefore more comfortable. The buttons, which are usually covered with fabric, can be added to most types of cushions, from simple scatter cushions to deep gusseted chair seats. They are not advisable for very thin squab cushions, however, since the buttons will not sink deep into the pad, making them uncomfortable to sit on.
The idea for buttoning came into popularity in Victorian times, when buttons were widely used on all types of furniture from foot stools to Chesterfield sofas. Perhaps, because of this, buttoned cushions and furniture have an old-fashioned look which is now very much back in style.
Fabric Covered Buttons
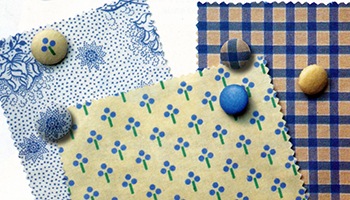
Most buttoned cushions are done with covered buttons, which look and feel softer than ordinary dressmaking buttons. The special buttons used for this can be either plastic or rust-proof metal, but although plastic is fine for dressmaking purposes, the strong metal variety is best for cushions.
Any light or medium weight fabric can be used to cover the buttons, And you may have some remnants of attractive fabric already, which would be ideal for the purpose. Usually all the buttons are covered with the same fabric, but for added interest you could use a different color for each one to create a harlequin effect. You can even embroider fabric or use stitched canvas as the button covers.
How To Make Buttoned Cushions
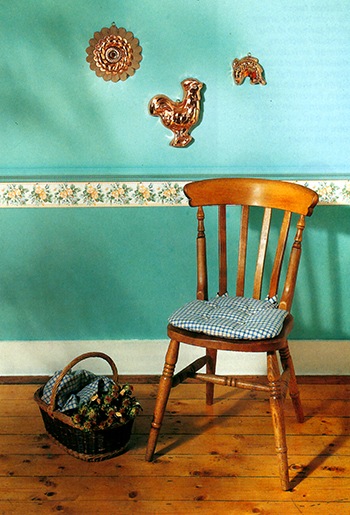
Buttons add decorative interest to squab cushions, but make sure the cushions are deep enough to allow the buttons to sink in, otherwise they may be uncomfortable to sit on.
Materials
Covered cushion Large covered buttons
Furnishing fabric
Button twine, available from the sewing departments of some of the larger chain stores or from specialist upholstery suppliers. It comes in only a few colors, but it will not show on the finished cushion, so an exact match is not necessary.
1. Planning
For each button on the front of the cushion you will need another one on the back for reinforcement. This can either be a small, inexpensive button, or, if the cushion is reversible, a second covered button. Use tailor’s chalk to mark the position of the buttons on each side, making sure that the button marks on the underside are exactly under the ones on the top.
2. Attaching the buttons
Thread a needle with button twine and knot the ends together to make a double thread. Pass the needle from the underside of the cushion to the top, making sure the needle goes through the marks on both sides. Thread on a button and stitch back to the underside. Thread on another button and stitch to the top side and through the top button.
3. Knotting off
Pull firmly on the twine to tighten the thread and pull the two buttons into the cushion. Pass the twine round the shank of the button to make a loop and then pass the needle through the loop to secure the buttons.
4. Finishing off
Tie another knot in the thread, then trim. Repeat steps 2-4 to attach all the required buttons, pulling them the same depth into the cushion.
Reference: The Country Look—Decor & Crafts



3 Responses
How to Make Piped Cushions In 8 Steps - Crafting DIY
[…] it is easy to buy cushion pads in a range of shapes and sizes – square, rectangular and round, with or without gussets. […]
Matthew S
I am putting a cot mattress in a play house as a children’s sofa, and want to sew a cover for it. I have upholstery fabric but no zip long enough so need a pattern that will allow me to open one end using buttons.
Can anyone give me a link or talk me through how I might do this? Thanks
Xbox360king
Would you think it’s okay to have a envelope cushion covers that runs top to bottom as supposed to left to right??